
Overhead view of home insurance policy documents smartphone with camera app house keys and small house model on a desk
How Do Home Insurance Claims Work? A Step-by-Step Guide to the Claims Process

Content
Your basement's flooded at 2 AM, or you've come home to find a tree branch through your living room ceiling. Now what? Filing a home insurance claim doesn't need to feel like navigating a maze blindfolded, though plenty of homeowners make it harder than necessary.
When you understand how do home insurance claims work, you'll move through each phase without second-guessing yourself or leaving thousands of dollars unclaimed. The homeowners claim workflow has six distinct phases—some take hours, others drag on for months. Complexity matters more than damage size: a $50,000 fire claim might settle faster than a $15,000 water damage dispute.
We're walking through the entire claims process homeowners insurance carriers use, from that first panicked phone call through depositing your final check. You'll learn which documents actually matter, how adjusters calculate your payout, and which mistakes torpedo claims before they even get started.
What Triggers a Home Insurance Claim?
Weather tops the list of claim causes, with storm damage accounting for roughly one-third of all homeowners claims nationwide. Wind rips shingles clean off roofs, hail punches holes in siding, and trees topple onto houses during severe storms. Insurance companies brace for claim floods whenever hurricanes or tornado systems appear on radar.
Fire creates some of the most devastating claims. Total losses wipe out everything, but even contained kitchen fires generate smoke residue that penetrates walls, ductwork, and belongings throughout your home. Restoration crews often gut multiple rooms just to eliminate smoke odor.
Water damage sneaks up in countless ways. Pipes burst when temperatures plummet below freezing. Water heaters fail without warning after 10-15 years of service. Washing machine hoses crack and flood laundry rooms. Dishwashers leak slowly for weeks before you notice warped flooring. Your policy generally covers sudden incidents but excludes gradual seepage or flood water from outside sources (that requires separate flood insurance).
Theft and vandalism claims require immediate police involvement. Someone breaks a window to steal electronics, or vandals spray-paint your fence. You'll need that police report number before your insurer processes anything. Create detailed lists of missing items with approximate purchase dates and original costs—harder than it sounds when you're trying to remember everything in your jewelry box.
Liability situations happen when guests get hurt on your property. Your dinner guest slips on wet tile and breaks an arm. The neighbor's kid falls from your treehouse and needs surgery. A delivery driver trips on your cracked sidewalk. These claims balloon quickly since you're covering medical bills, lost wages, possibly legal defense costs, and potential settlements.

Author: Samantha Kessler;
Source: sixth-fleet.com
Here's the thing about filing claims: not every incident makes financial sense to report. Damage totaling $800 with a $1,000 deductible means you're paying everything anyway. Even damage slightly above your deductible—say $1,500 against that same $1,000 deductible—might cost you more in premium increases over five years than the $500 payout.
The 6 Steps of Filing a Homeowners Insurance Claim
The filing homeowners insurance claim steps follow a predictable sequence, though timing varies wildly depending on damage severity and your insurance company's workload.
Step 1 – Document the Damage Immediately
Pull out your phone and start recording before touching anything. Shoot video while walking through damaged areas, narrating what you're seeing: "This is our master bedroom, the ceiling collapsed around 3 PM during the storm, insulation is hanging down, drywall is in chunks on the bed." Video captures scope better than photos alone.
Then switch to photos. Wide shots establish room layouts and damage extent. Close-ups show specific problems—cracked pipes, charred electrical outlets, shattered windows. Here's what adjusters need to see: damage from multiple angles, surrounding undamaged areas for context, and any visible causes (the tree branch, the burst pipe, the scorch marks).
When damage threatens to worsen, you've got to act. Water's still pouring in? Shut off the main valve and tarp that roof opening. Windows broken during a storm? Board them up before rain soaks your interior. Fire left your roof partially exposed? Tarp it immediately. Keep every receipt—stores charge premium prices for emergency tarps and plywood, but insurers reimburse reasonable mitigation expenses.
Write everything down while details stay fresh. What time did you notice the damage? What were you doing when it happened? Had you heard strange noises beforehand? For storm damage, note the exact weather conditions. This narrative becomes critical if your insurer questions whether damage occurred during your coverage period.
In the aftermath of property damage, your memory is your worst enemy and your camera is your best friend. The homeowners who recover the most from their insurance claims are invariably the ones who documented everything before emotion and exhaustion took over.
— Patricia Hartwell
Theft requires calling police before you call your insurance company. Most carriers won't process theft claims without an official police report. Same goes for vandalism or hit-and-run vehicle damage to your property.
Step 2 – Contact Your Insurance Company
Call your insurer's claims line right away—within 24-48 hours for most damage, immediately for theft. Buried in your policy's fine print, you'll find language requiring "timely notification." Courts have upheld claim denials when homeowners waited months to report damage, arguing the delay hampered proper investigation.
The claims representative assigns you a number (write this down, you'll reference it constantly) and connects you with an adjuster. They'll ask basic questions: What happened? When? Has anyone been injured? Have you made temporary repairs? Is the property safe to enter?
Don't speculate about causes during this call. Stick to observable facts: "The ceiling collapsed" not "I think the roof leaked for weeks." Avoid accepting responsibility for anything, especially with liability claims. Answer questions directly but don't volunteer theories about what went wrong.

Author: Samantha Kessler;
Source: sixth-fleet.com
Ask specific questions during this initial call: What's my deductible? Do I have replacement cost or actual cash value coverage? Which contractors can I use? Do I need multiple repair estimates? Can I start cleanup, or does the adjuster need to see everything first? Taking notes here prevents confusion later.
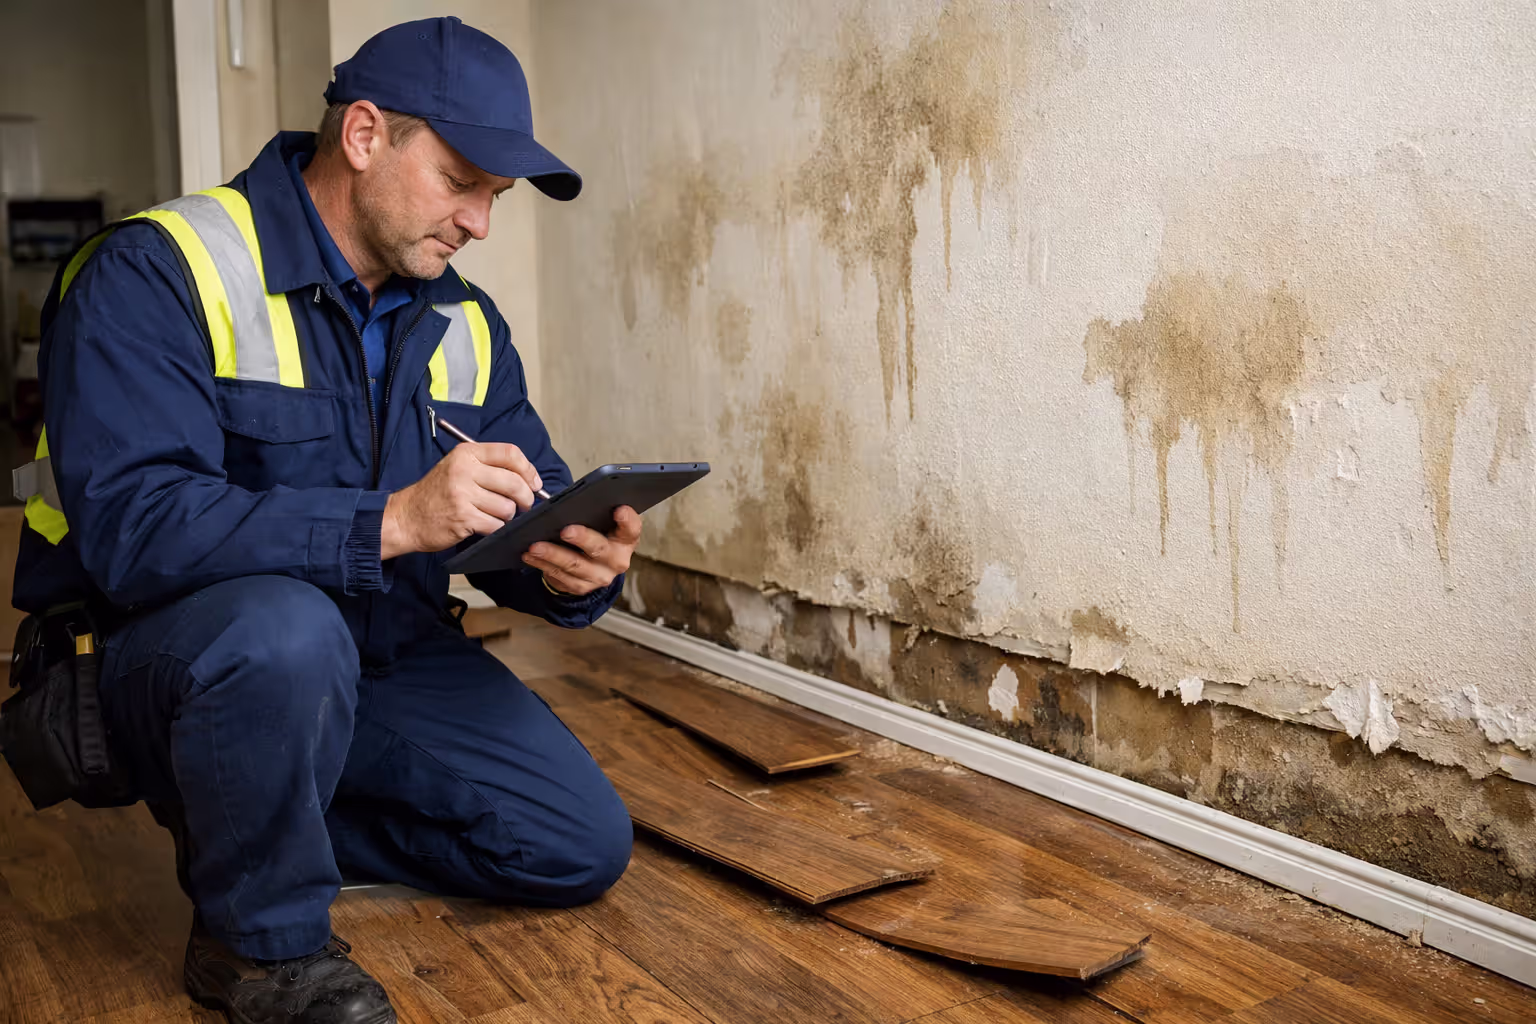
Step 3 – Meet with the Claims Adjuster
Your adjuster typically schedules a property visit within 3-14 days, depending on claim volume and damage urgency. After major disasters affecting thousands of homes, adjusters get overwhelmed—your wait might stretch to several weeks.
Block out at least two hours for this meeting. You're walking through the entire property together, and rushing creates missed damage. Guide the adjuster to every affected area, including spaces they might skip—attics, crawl spaces, basements, detached structures.
Bring your documentation package: printed photos (yes, printed—don't rely on scrolling through your phone), videos loaded on a tablet, receipts for damaged property, and estimates you've already obtained. The more organized you appear, the more seriously adjusters take your claim.
Adjusters measure, photograph, and record observations on tablets or paper forms. They're documenting everything for their report, which becomes your settlement's foundation. Watch what they write down. Speak up if they're missing something: "Did you notice the water stain on the far wall? That same leak damaged the closet behind it."
Expect questions about pre-existing conditions. "Was this roof damage already present before the storm?" Answer honestly—lying voids your coverage. But distinguish between prior damage and prior wear: "The roof was 12 years old but had no leaks or missing shingles before the hail storm."
After finishing the inspection, adjusters return to their office and generate damage estimates using specialized software. This takes anywhere from three days to a month for complex claims requiring multiple specialists—structural engineers, electricians, plumbers—to weigh in.
Step 4 – Review Your Settlement Offer
Initial checks typically represent actual cash value: what your damaged items were worth the moment before the loss, accounting for age and wear. If your policy includes replacement cost coverage (and it should), you'll get a second payment later covering depreciation once you complete repairs and submit final invoices.
Your settlement letter breaks down everything: room-by-room damage estimates, labor and material costs, depreciation deductions, and your deductible. Read every line. Compare figures against contractor estimates you've gathered independently.
Disagreements happen constantly. The adjuster's contractor estimate might price repairs at $18,000 while your contractor says $25,000. Who's right? Often both—contractor estimates vary based on material quality, labor rates, and regional pricing.
Challenge lowball offers with solid documentation. Submit competing bids from licensed contractors (at least two, ideally three). Highlight specific line items where the adjuster's estimate falls short: "Your estimate allows $3,200 for roof replacement, but three local roofers quoted $4,800-$5,400 for the same scope of work using similar materials."
Most policyholders accept the first settlement offer because they assume the insurance company’s number is final. It rarely is. A well-documented counter-estimate supported by independent contractor bids can increase a settlement by fifteen to thirty percent — money that was always owed but never would have been paid without pushback
— David Markham
Negotiation isn't adversarial—it's expected. Insurance companies build in room for adjustment. Send a polite but firm letter explaining valuation discrepancies, attaching supporting documents. Many insurers raise initial offers 10-30% after receiving solid counter-evidence.
For major disputes involving tens of thousands of dollars, public adjusters enter the picture. These professionals work exclusively for you (not the insurance company), handling all documentation and negotiation. They'll take 5-15% of your settlement, but frequently increase payouts enough to cover their fees and leave you ahead. A public adjuster turning a $40,000 offer into $60,000 costs you $6,000-$9,000 but nets you $11,000-$14,000 more than handling it yourself.
Step 5 – Complete Repairs with Approved Contractors
Once you've accepted the settlement terms, repair work can begin. Some carriers require using their "preferred vendor" networks. These contractors offer insurance company guarantees—if work fails within a certain period, the insurer makes them redo it free. You're not legally obligated to use preferred vendors unless your policy specifically requires it, but you'll find they understand insurance paperwork better than independent contractors.
Contract terms matter enormously. Written agreements should specify materials by brand and grade, detailed work scope, completion timeline, payment schedule, and warranty terms. Never sign contracts with blank sections to be "filled in later."
Author: Samantha Kessler;
Source: sixth-fleet.com
Payment schedules protect you. Reputable contractors accept 10-25% deposits, then stage remaining payments as work progresses: 25% at rough-in, 25% at substantial completion, final 25-40% when everything's finished and inspected. Anyone demanding 50% or more upfront is probably undercapitalized or running scams.
Document everything during repairs. Photograph work in progress, especially anything that'll be covered up later—new framing, electrical work, plumbing, insulation. Your insurance company might request progress photos. Future buyers will appreciate documentation of major repairs.
Contractors frequently discover hidden damage once they open walls or ceilings. Water damage hiding behind drywall, termite infestation exposed during repairs, electrical code violations requiring updating. Contact your adjuster immediately when contractors find additional damage. Photograph everything before proceeding with repairs. Most adjusters will inspect supplemental damage and amend your claim accordingly, though this restarts parts of the approval process.
Step 6 – Receive Your Final Payment
Submit every invoice, receipt, and completion certificate after contractors finish. Include photos showing completed work. Your insurer reviews documentation to verify repairs match approved scopes and releases remaining funds—the recoverable depreciation withheld from your initial payment.
Final payments typically arrive 2-4 weeks after submitting completion documents, though some insurers move faster or slower. If contractors completed work for less than estimated, you'll only receive reimbursement for actual costs incurred. You can't pocket the difference between the $20,000 estimate and the $17,000 final bill—insurance pays actual documented expenses, not estimates.
Store all claim-related paperwork for at least seven years. Tax implications, future sale documentation, and potential disputes all require these records. Create both physical files and digital backups—scan everything important.
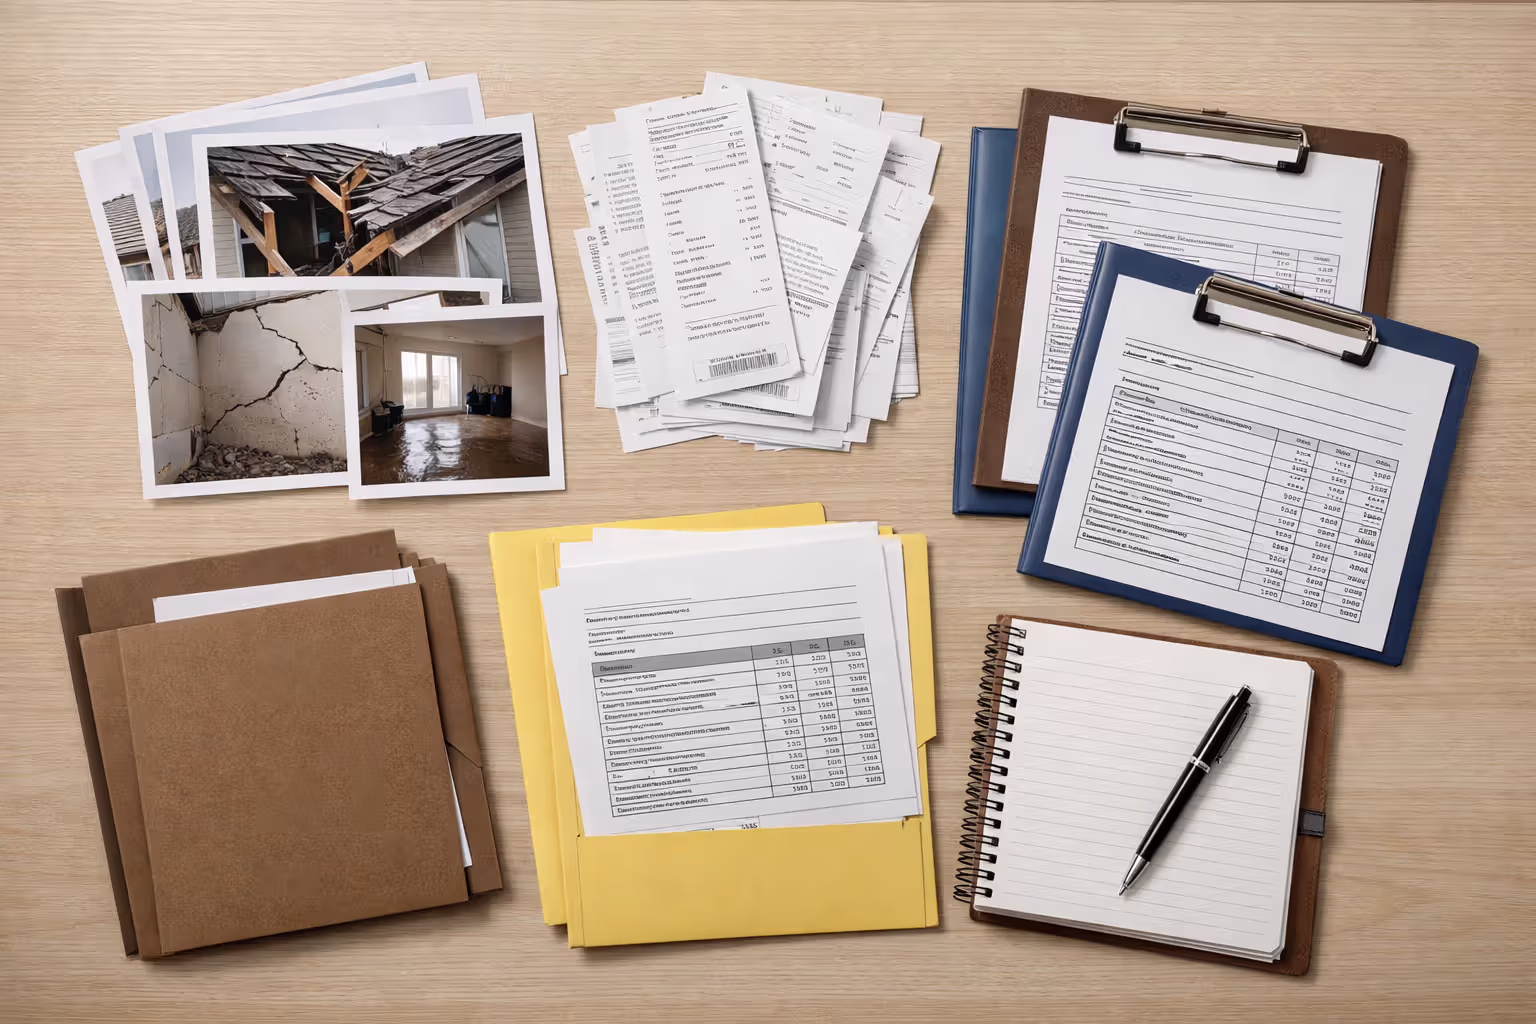
Essential Documentation You Need for Your Claim
Insurance claim documentation home requirements separate smooth claims from nightmares. Organization directly correlates with settlement speed and payout size.
Visual evidence forms your claim's backbone. Shoot photos and videos showing damage context—how far water spread, which rooms fire affected, the path storm debris traveled through your house. Date stamps help establish timelines. Most smartphones automatically embed dates in photo metadata, but enable visible date stamps too if your camera allows it.
Home inventories save massive headaches with theft or total loss claims. Walking through your home describing contents is tedious but invaluable: "Master bedroom—king bed frame purchased 2019 at IKEA for $400, mattress purchased 2020 from Mattress Firm for $1,200, two nightstands purchased 2019 from Target for $80 each..." Dedicated apps like Sortly or Encircle streamline this process, letting you photograph items and attach purchase information.
Original receipts establish property values, but most people don't keep decade-old receipts for their sofa or dining table. Credit card statements work as alternatives—they prove purchase dates and amounts. Online order confirmations from Amazon, Wayfair, or other retailers serve the same purpose. For big-ticket items (jewelry, art, collectibles, antiques), professional appraisals provide documentation insurance companies accept without question.
Police reports aren't optional for theft, vandalism, or certain liability claims. File reports immediately after discovering incidents. Even if police never catch the burglar or find your stolen property, that report number validates your claim. Insurance companies dismiss theft claims lacking police documentation—too much fraud risk otherwise.
Contractor estimates become ammunition when disputing adjuster valuations. Line up two or three licensed, insured contractors willing to provide written estimates detailing materials, labor, and timelines. Contractors experienced with insurance work format estimates to match what adjusters expect, making comparisons easier.
Communication records protect you when disputes arise or insurers drag their feet. After every phone conversation, send a follow-up email: "Per our conversation today at 2 PM, you confirmed my claim number is 12345-6789 and that my adjuster will contact me within 72 hours." This creates paper trails proving what was said and when.
How Insurance Companies Evaluate and Approve Claims
The claim approval process home insurance companies follow involves checkpoints where claims get approved, reduced, or denied entirely.
Adjusters verify coverage applies to your specific situation. They confirm the damage type is covered under your policy, occurred during an active coverage period, and doesn't fall under exclusions. Standard policies cover wind damage but exclude floods. They cover sudden water damage but exclude gradual leaks. They cover fire but exclude arson committed by the policyholder.
Valuation methods determine whether you're thrilled or disappointed with your settlement. Actual cash value settlements deduct depreciation from replacement costs—your 15-year-old roof might cost $12,000 to replace, but its depreciated value is perhaps $4,000. Replacement cost coverage pays the full $12,000 to install a new comparable roof. This difference explains why replacement cost policies cost 10-20% more in premiums but pay dramatically more on claims.
Coverage limits cap your maximum payout regardless of actual damage. Dwelling coverage limits apply to structural repairs. If you're insured for $250,000 but rebuilding costs $300,000, you're covering that $50,000 gap yourself. Personal property limits govern belongings—typically 50-70% of dwelling coverage. Special limits restrict specific categories: most policies cap jewelry at $1,000-$2,500, cash at $200-$500, and electronics at $2,500-$5,000 unless you've purchased additional coverage riders.
Deductibles get subtracted from approved settlements—that's the amount you've agreed to cover yourself before insurance kicks in. Your adjuster approves $15,000 in repairs, your deductible is $2,000, so you receive $13,000. Some policies use percentage deductibles for specific perils: a 2% wind/hail deductible on a $400,000 home means you're paying the first $8,000 of storm damage yourself.
Denials happen for predictable reasons. Coverage exclusions account for many denials—you filed a flood claim but only carry standard homeowners insurance. Maintenance-related damage gets denied because policies cover sudden accidents, not deterioration from neglect. Late reporting sometimes triggers denials, especially when delays prevent proper investigation. Suspected fraud guarantees denial plus potential policy cancellation and legal consequences.
Fighting denials requires understanding policy language and state insurance regulations. Request detailed denial letters citing specific policy provisions. Review those provisions carefully—adjusters occasionally misinterpret coverage. If you believe denial is incorrect, file a formal written appeal with supporting documentation addressing each denial reason. State insurance departments accept complaints and sometimes pressure carriers to reconsider questionable denials. For large claims, attorneys specializing in insurance disputes can force carriers to honor legitimate claims they've wrongly denied.
Timeline: How Long Does the Home Insurance Claims Process Take?
The homeowners claim workflow timeline varies from two weeks to over a year depending on damage complexity, claim size, and external factors.
| Damage Type | Average Processing Time | Complexity Level | Key Documentation Needed |
| Water damage | 2-4 weeks | Medium-High | Damage photos, plumber inspection reports, moisture meter readings, contractor repair estimates |
| Fire damage | 4-12 weeks | High | Fire department incident report, structural engineer assessment, complete contents inventory, smoke remediation estimates |
| Theft | 2-6 weeks | Medium | Police report with case number, stolen property inventory with values, purchase receipts or photos, forced entry damage documentation |
| Storm/wind damage | 3-8 weeks | Medium-High | Local weather service reports, exterior and interior damage photos, emergency repair receipts, roofing contractor estimates |
| Liability claim | 3-12+ months | High | Medical records and bills, police reports if applicable, witness contact information and statements, legal correspondence |
Several factors speed claims along. Reporting damage within 24-48 hours gets you in the queue immediately. Complete documentation packages eliminate adjuster requests for additional information that add days or weeks. Staying available for calls, adjuster visits, and contractor meetings prevents scheduling delays from stretching your timeline. Accepting reasonable settlement offers closes claims quickly versus entering lengthy negotiation cycles.
Other factors drag claims out. Natural disasters generating thousands of simultaneous claims overwhelm adjusters—expect substantial delays after hurricanes, major tornado outbreaks, or widespread hail events. Complex damage requiring specialized experts (structural engineers, environmental inspectors, forensic investigators) adds weeks since these specialists stay booked. Coverage disputes trigger back-and-forth correspondence and reviews extending timelines by months. Contractor shortages during peak seasons delay repairs, which delays final depreciation payments.
"The single biggest factor that determines whether a claim goes smoothly is documentation quality. Homeowners who provide detailed photos, receipts, and timely communication receive settlements 40% faster on average than those who submit incomplete information." — Robert Chen, Senior Claims Adjuster, National Property Insurance Association
State regulations impose deadlines on insurers. Most states require carriers to acknowledge new claims within 10-15 days of filing. Coverage decisions must generally come within 30-45 days. Payment must be issued within 5-30 days after settlement agreement (varies by state). States levy penalties on carriers for unreasonable delays, giving you leverage when insurers drag their feet.
Common Mistakes That Delay or Deny Homeowners Claims
Author: Samantha Kessler;
Source: sixth-fleet.com
Homeowners regularly sabotage their own claims through preventable errors during filing homeowners insurance claim steps.
Delayed reporting ranks among the costiest mistakes. Your policy requires "timely" or "prompt" notification—vague language courts typically interpret as days for theft or liability incidents, weeks for property damage. Report claims quickly even if you're unsure about filing. Waiting months before reporting creates suspicion about when damage actually occurred and whether it happened during your coverage period.
Inadequate documentation costs homeowners thousands in reduced settlements. Taking only a few photos from one angle, discarding damaged property before adjuster inspections, or failing to document repair costs leads to low-ball settlements you can't effectively dispute. Photograph everything extensively. Keep damaged items until your adjuster explicitly approves disposal.
Policy ignorance creates unrealistic expectations and bitter disappointment. Homeowners frequently assume coverage they don't carry or misunderstand exclusions. That flooded basement? Not covered without separate flood insurance. Those termites destroying your foundation? Maintenance issue, not sudden accident—denied. Read your entire policy before you need to file, or hire an agent to explain coverage in plain English.
Accepting initial settlement offers without question leaves money unclaimed. First offers sometimes undervalue damage, especially for complicated claims involving structural work or extensive personal property losses. Obtain independent contractor estimates and compare them against adjuster figures line by line. Push back on discrepancies with supporting documentation—insurers expect some negotiation on substantial claims and often increase offers.
Starting full repairs before adjuster inspections eliminate your evidence. Yes, you should prevent further damage—tarp that hole in your roof before more rain falls. But don't begin demolition and reconstruction until after the inspection. If emergency repairs can't wait, document everything exhaustively through photos and videos taken before, during, and after temporary work.
Exaggerating damage or padding claims with unrelated problems destroys credibility and can void coverage entirely. Don't claim the storm damaged your fence that's actually been falling apart for three years. Don't add items to your theft inventory that weren't actually stolen. Adjusters investigate suspicious claims thoroughly, and fraud doesn't just get your claim denied—it can lead to policy cancellation and prosecution.
Failing to prevent additional damage reduces your settlement or justifies partial denial. You must take "reasonable steps" to mitigate losses. Leave a damaged roof exposed during rainy season and subsequent water damage might not be covered. Fail to shut off water from a burst pipe and let it run for hours, and the insurer might only cover initial damage, not the additional flooding from your inaction.
Frequently Asked Questions About Home Insurance Claims
Moving Forward After Filing Your Claim
Understanding how do home insurance claims work transforms what feels like an overwhelming crisis into a manageable process with clear steps and predictable outcomes. The claims process homeowners insurance carriers use follows logical sequences, but your success depends entirely on preparation and attention to detail.
Documentation wins claims—photos from every angle, receipts for damaged property, written records of every conversation. Report damage within 24-48 hours regardless of whether you've decided to proceed with filing. Organization accelerates everything and maximizes settlements.
Stay organized throughout the process and keep copies of everything. Know your policy coverage before damage happens so you're not discovering exclusions during crisis moments. Question settlement offers that seem inadequate, and back up your challenges with competing contractor estimates and solid documentation.
Most claims close smoothly when homeowners provide thorough insurance claim documentation home and maintain responsive communication with adjusters. Problems arise when people rush through documentation, fail to preserve evidence, or don't understand what their policies actually cover.
After your claim closes and repairs are complete, review your policy for gaps exposed during the process. Consider endorsements covering specific valuables that hit sub-limits during your claim. Evaluate whether increasing coverage limits makes sense if rebuilding costs exceeded your dwelling coverage. Some homeowners raise deductibles to reduce premiums after experiencing the claims process and deciding they'd handle smaller losses out-of-pocket. The experience of filing teaches you exactly what coverage you need and where you're paying for protection you'll never use.