Homeowner shaking hands with insurance adjuster holding clipboard at front door of residential house with minor roof damage
How to Deal with Home Insurance Adjuster: A Homeowner's Step-by-Step Guide

Content
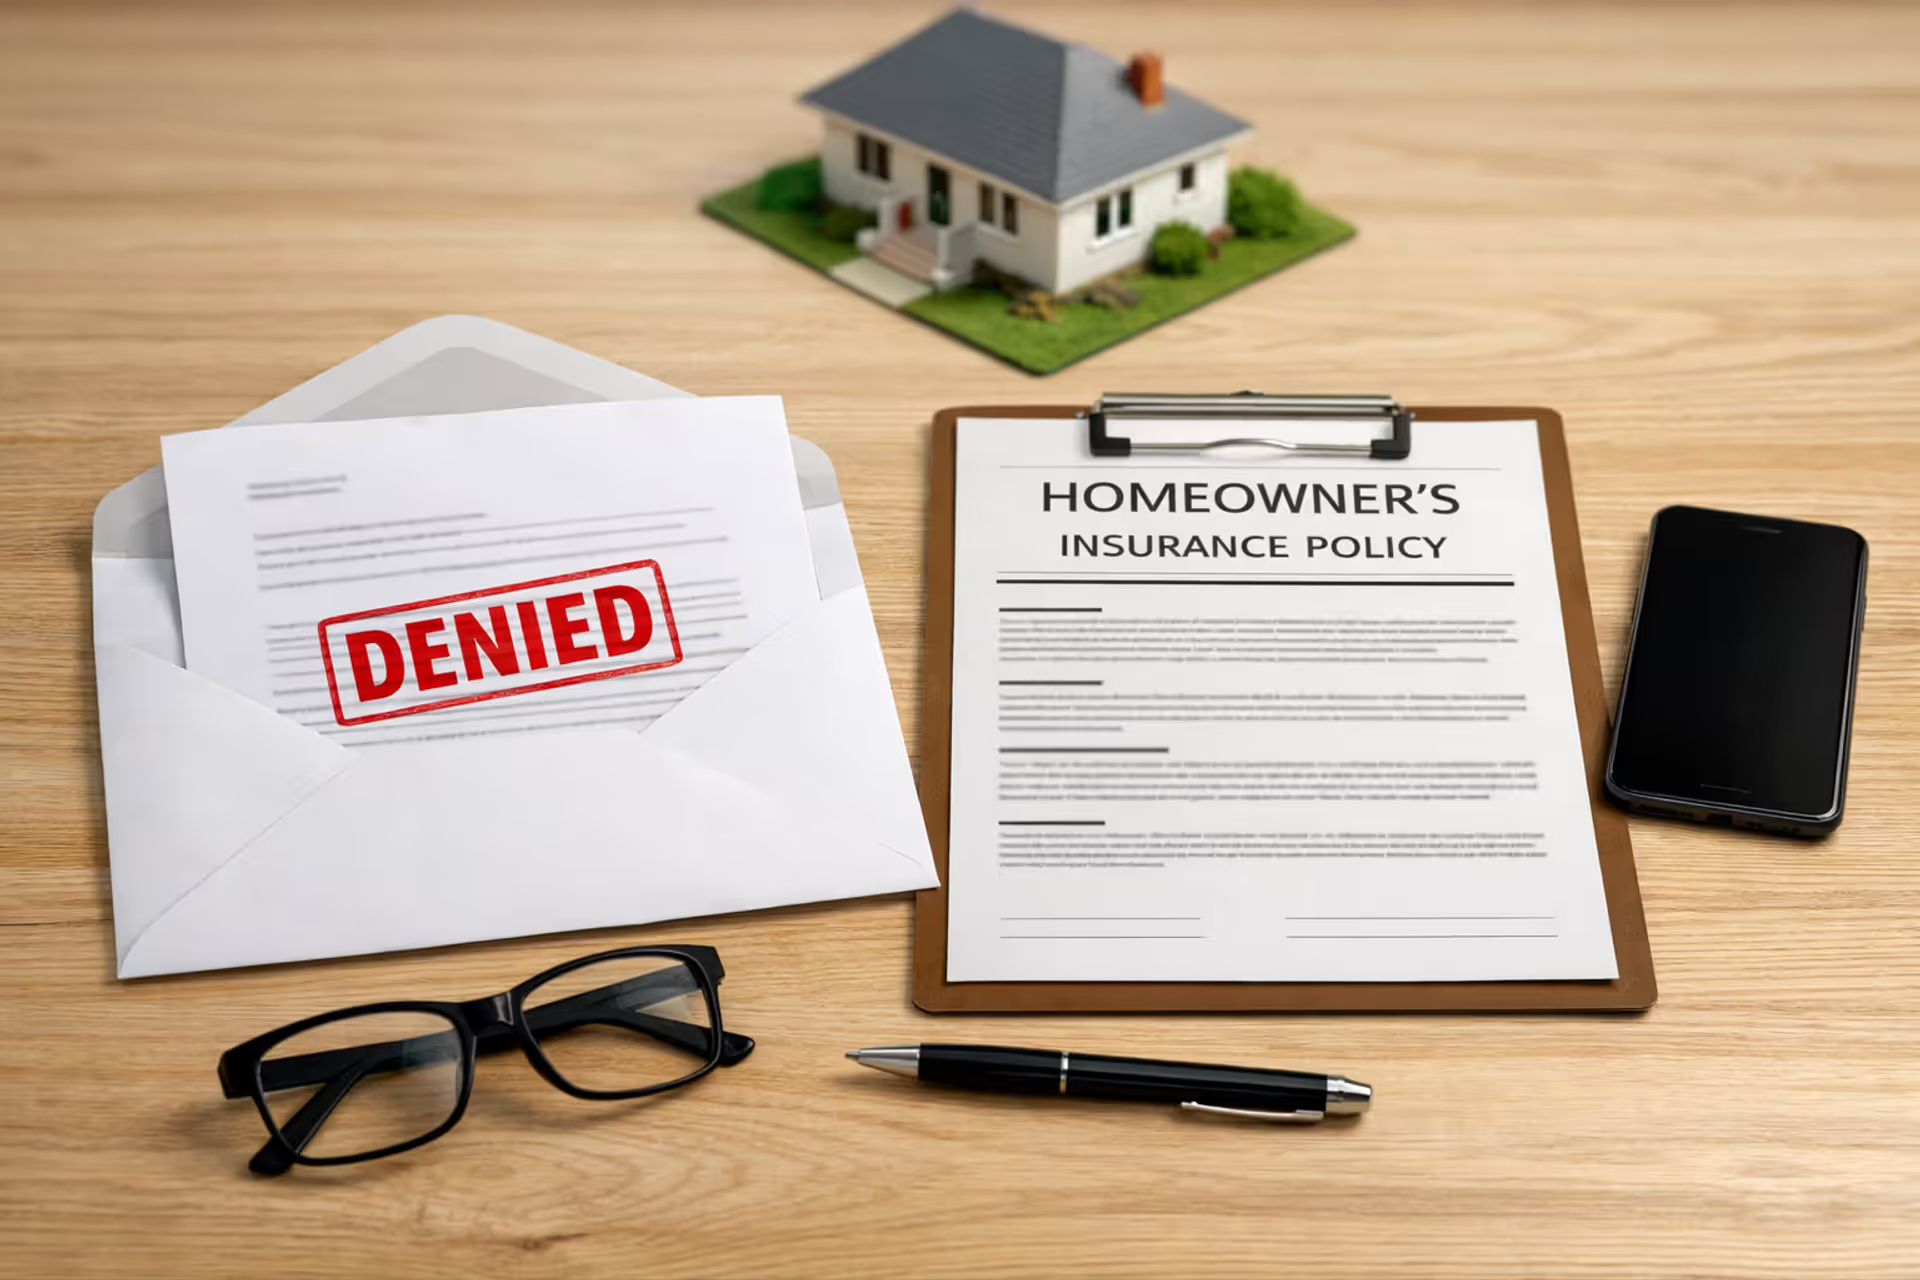
Filing a home insurance claim can feel overwhelming, especially when you're already dealing with property damage from a storm, fire, or other disaster. The insurance adjuster who shows up at your door holds significant power over your claim's outcome, but many homeowners don't realize they have rights and strategies that can level the playing field.
Understanding how to properly interact with your adjuster, what documentation to prepare, and when to push back on lowball offers can mean the difference between a fair settlement and leaving thousands of dollars on the table. This guide walks you through each stage of the process, from the first phone call to final negotiation.
What to Expect When Your Insurance Adjuster Contacts You
After you file a claim, working with insurance adjuster homeowners claim processes typically begins with a phone call within 24-72 hours. The adjuster will introduce themselves, ask preliminary questions about the damage, and schedule an inspection. During this initial conversation, stick to basic facts—don't speculate about causes or minimize damage to seem reasonable.
One homeowner learned this the hard way after saying "it's probably not that bad" during the first call, only to watch the adjuster reference that statement later when justifying a reduced payout.
Timeline for the Adjuster Visit
Most states require insurers to acknowledge claims within 15 days and conduct inspections within a reasonable timeframe, usually 7-15 days depending on the disaster scale. After widespread events like hurricanes, expect delays as adjusters handle hundreds of claims simultaneously.
If your adjuster hasn't scheduled a visit within two weeks, follow up in writing via email. Document every delay. Insurers sometimes drag out claims hoping you'll accept a quick, low settlement out of frustration or financial desperation.
The actual inspection typically takes 30 minutes to two hours, depending on damage extent. Complex claims involving structural issues or extensive water damage require longer assessments.
Types of Adjusters (Staff, Independent, Public)
Not all adjusters represent the same interests, and understanding who you're dealing with shapes your strategy:
| Type | Who They Work For | Cost to You | Pros | Cons |
| Staff Adjuster | Employed directly by your insurance company | None (paid by insurer) | Familiar with company policies; streamlined process | Loyalty to employer may influence settlement amounts |
| Independent Adjuster | Contracted by insurance company | None (paid by insurer) | May handle claims more objectively; often experienced | Still paid by insurer; no loyalty to you |
| Public Adjuster | Works for you, the policyholder | 5-15% of settlement | Advocates solely for your interests; negotiates aggressively | Costs reduce your net payout; some are more skilled than others |
Staff and independent adjusters both work for your insurance company, even though independent adjusters are technically contractors. Their job involves protecting the insurer's bottom line while appearing helpful. Public adjusters flip this dynamic entirely—they only get paid when you do, creating alignment with your interests.
Most homeowners work with staff or independent adjusters and never need a public adjuster. But for claims exceeding $50,000 or involving disputed damage, a public adjuster's expertise often recovers more than their fee costs.
Preparing Your Home and Documentation Before the Adjuster Inspection
The adjuster inspection homeowners insurance claim preparation phase determines how much evidence you'll have to support your case. Adjusters arrive with their own agenda and checklist. You need yours.
Start by stopping further damage if safe to do so—your policy requires it. Tarp a damaged roof, extract standing water, board broken windows. Save all receipts for these emergency repairs; they're reimbursable.
Author: Marcus Hollowell;
Source: sixth-fleet.com
Creating a Detailed Damage Inventory
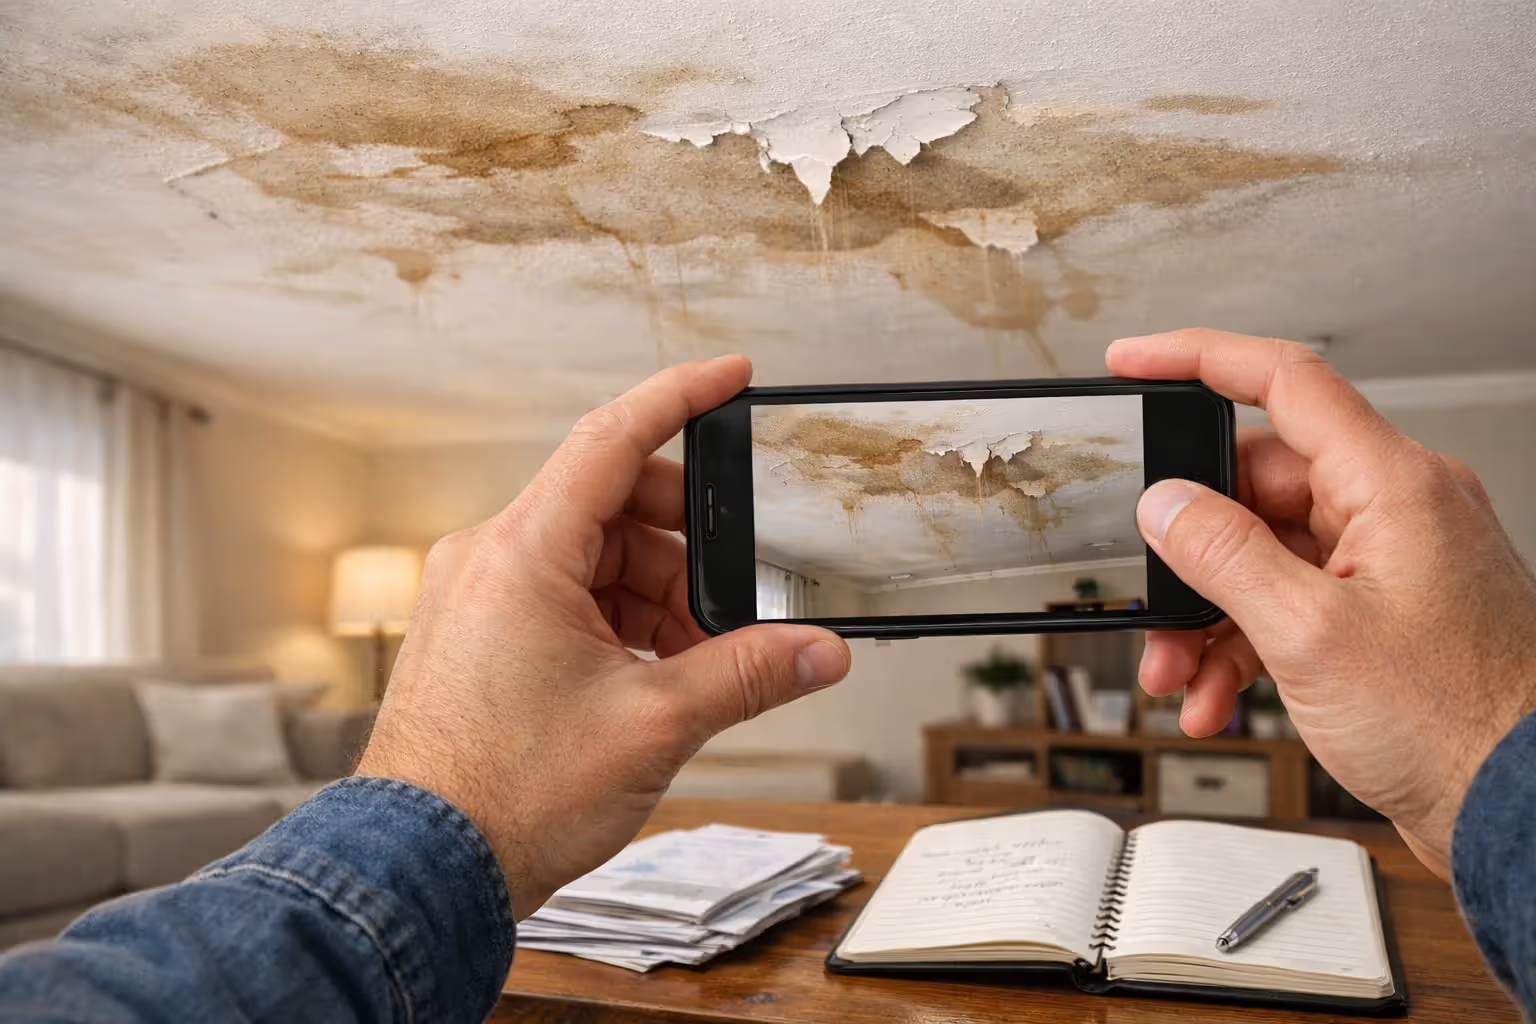
Walk through your entire property with a smartphone or camera, documenting every affected area. Shoot wide-angle shots showing room context, then close-ups of specific damage. Capture:
- Ceiling stains and water damage patterns
- Cracked walls, foundations, or structural elements
- Damaged flooring, including buckling or staining
- Broken windows, doors, or fixtures
- Appliance damage or malfunction
- Exterior damage to siding, roofing, gutters
- Damaged landscaping or fencing (if covered)
Create a written inventory listing each damaged item with brief descriptions. For contents claims, note the item, purchase date (approximate is fine), and replacement cost if you know it. "Samsung 55-inch TV, purchased 2020, approximately $800" beats "broken TV."
Many homeowners forget to document undamaged areas. Photograph intact rooms and belongings too. If the adjuster later claims pre-existing damage, you'll have proof of prior condition.
The single most important thing a homeowner can do before an insurance adjuster arrives is document everything — every crack, every stain, every piece of damaged property. Photographs and written inventories are your strongest evidence. Without them, you’re relying on someone else’s interpretation of your loss, and that rarely works in your favor
— Robert Hunter
Gathering Receipts, Photos, and Proof of Ownership
Adjusters love to challenge whether you actually owned claimed items or question their value. Counter this by gathering:
- Purchase receipts for major items (appliances, electronics, furniture)
- Credit card statements showing purchases if you lack receipts
- Photos from before the damage showing your belongings in place
- Appraisals for jewelry, art, or collectibles
- Home improvement receipts proving upgrades or renovations
One couple nearly lost $8,000 in flooring coverage because the adjuster claimed their hardwood was "builder-grade." They found their renovation invoice from three years prior showing premium oak installation, which changed the adjuster's assessment entirely.
Create both digital and physical copies of everything. Email yourself a backup set. Adjusters sometimes "lose" paperwork that strengthens your claim.
What Happens During the Adjuster Visit to Your Property
The adjuster visit homeowners insurance claim inspection follows a predictable pattern, but knowing what to expect helps you stay in control.
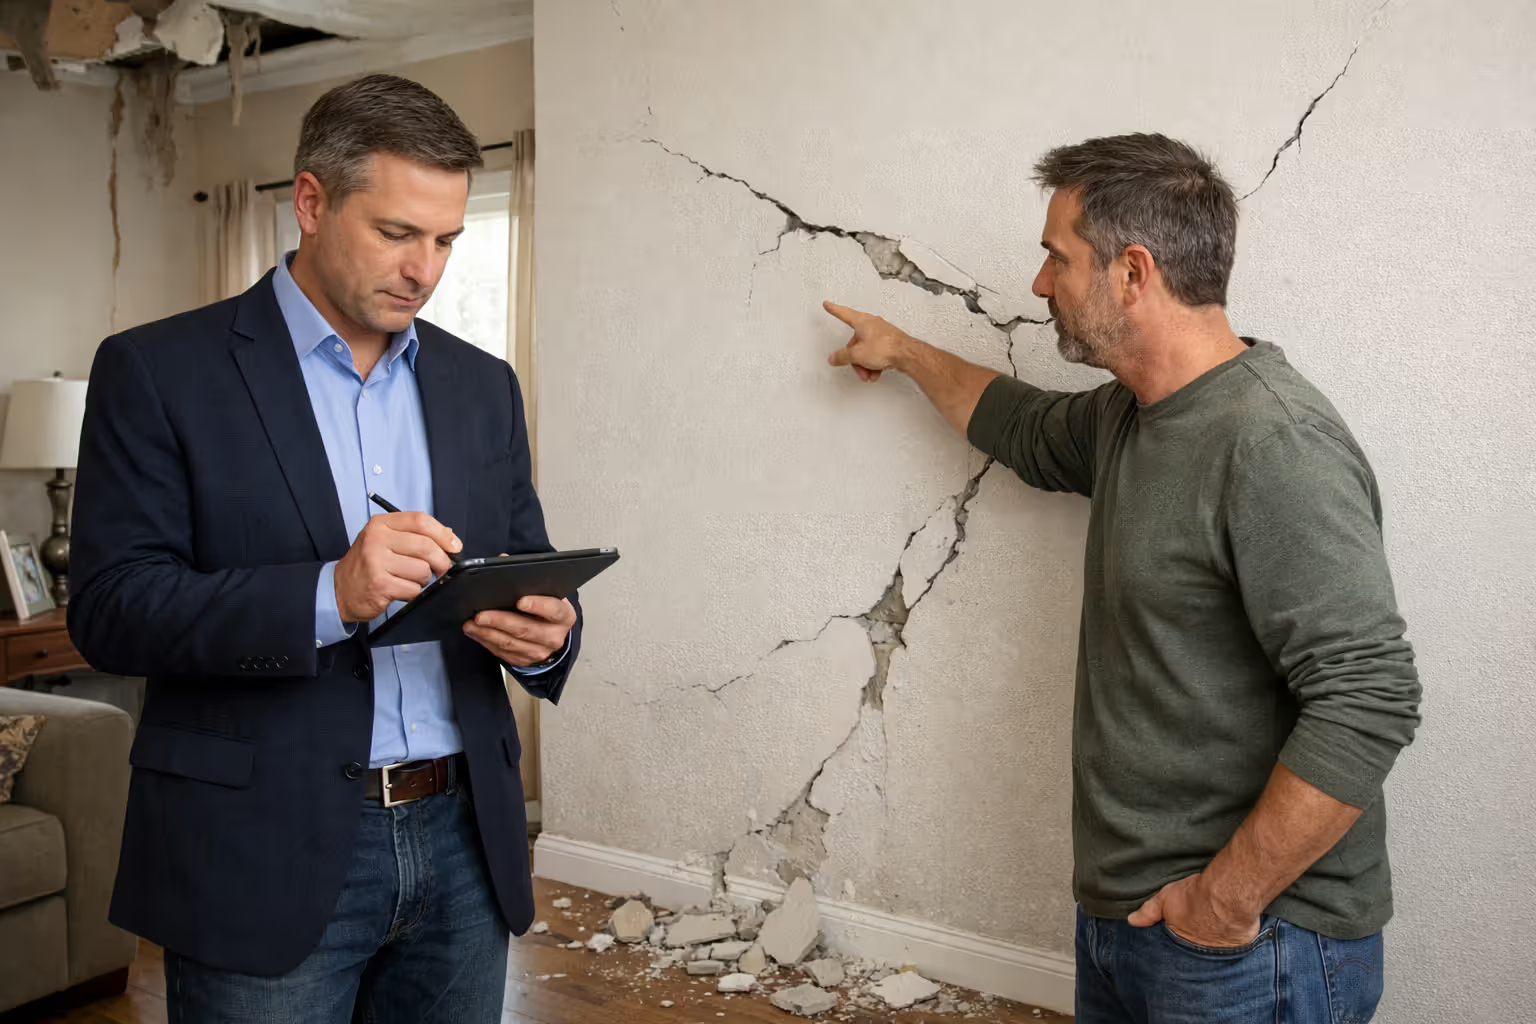
The adjuster will introduce themselves, possibly ask you to recount what happened, then begin their inspection. You have the right to accompany them throughout the entire process—exercise this right. Don't let adjusters wander your property alone or tell you to "wait here while I look around."
As they inspect, the adjuster takes photos, measurements, and notes. They're looking for damage covered by your policy while also seeking reasons to reduce the payout. They'll note pre-existing damage, deferred maintenance, or anything suggesting the damage falls outside policy coverage.
Point out every area of damage, even if it seems minor. Mention the bedroom ceiling stain in the corner, the cracked tile in the bathroom, the warped baseboard in the hallway. If you don't mention it during the inspection, adding it later becomes much harder.
The adjuster may ask questions designed to undermine your claim: "How old is this roof?" "When did you last have the plumbing inspected?" "Did you notice any leaks before the storm?" Answer honestly but carefully. "I'm not certain" beats guessing at dates or details you don't remember.
Expect the adjuster to take 30-90 minutes for most inspections. Complex structural assessments take longer. Before they leave, ask when you'll receive their written estimate and what happens next in the process. Get their direct contact information—phone and email.
You're allowed to take your own photos and notes during the inspection. Do so. If the adjuster seems to skip an area or dismisses damage you consider significant, document it yourself and note their response.
Author: Marcus Hollowell;
Source: sixth-fleet.com
Some adjusters are genuinely helpful and thorough. Others rush through inspections or seem dismissive. Either way, stay professional but assertive about your property damage.
Communication Strategies That Protect Your Claim
Adjuster communication homeowners insurance requires balancing cooperation with self-protection. Adjusters seem friendly—and many are pleasant people—but they're not your friends. Every conversation feeds into their claim evaluation.
What to Say (and What Not to Say) to Your Adjuster
Stick to factual statements about observable damage. "The storm damaged the roof, causing water to enter the master bedroom and hallway" works perfectly. Avoid speculation: "I think maybe the roof was already weak" invites the adjuster to blame pre-existing conditions.
Never say: - "I'm not sure this is even covered" (let them determine coverage) - "It's probably my fault for not maintaining..." (don't admit liability) - "I just want to get this over with" (signals you'll accept lowball offers) - "Whatever you think is fair" (abdicates your negotiating position) - Jokes about "making money" on the claim (can trigger fraud concerns)
Do say: - "I need the damage properly assessed and repaired" - "My policy should cover this under
" - "I'd like that in writing" - "I'll need time to review your estimate with a contractor" - "Can you explain why isn't included?"One homeowner casually mentioned he'd "been meaning to replace that old water heater anyway." The adjuster noted the comment and denied coverage, claiming the failure resulted from deferred maintenance rather than the covered pipe burst.
Documenting All Interactions
Create a claim journal documenting every interaction:
- Date and time of contact
- Person's name and title
- Summary of conversation
- Any commitments made
- Follow-up items
After phone calls, send a brief email summarizing what was discussed: "Thanks for speaking with me today. Just to confirm, you'll have the structural engineer's report by Friday, and we'll schedule the follow-up inspection next week." This creates a paper trail and prevents "I never said that" situations.
Save all emails, letters, and text messages. If the adjuster prefers phone calls, follow up each conversation with a written summary. Some adjusters avoid writing specifically because it creates evidence.
Common Adjuster Tactics and How to Counter Them
Even honest adjusters use strategies that favor insurers. Recognizing these tactics helps you respond effectively.
The lowball initial offer: Adjusters often start 30-50% below fair value, expecting negotiation. They frame it as "our initial assessment" while hoping you'll accept quickly. Counter by getting independent contractor estimates. When your roofer quotes $18,000 and the adjuster offers $11,000, you've got leverage.
Depreciation games: The adjuster separates "actual cash value" from "replacement cost," paying only depreciated value upfront. This is often legitimate per policy terms, but some adjusters exaggerate depreciation. A five-year-old roof doesn't have zero value. Review your policy's depreciation schedule and challenge unreasonable deductions.
Scope disputes: The adjuster claims damage isn't covered or wasn't caused by the insured event. "That crack existed before the earthquake" or "Water damage from rain isn't covered under your policy." Get a second opinion from a qualified contractor or engineer. Physical evidence often contradicts adjuster opinions.
Delay tactics: Slow responses, postponed inspections, "lost" paperwork, requests for redundant documentation. Delays pressure financially stressed homeowners into accepting inadequate settlements. Combat this by documenting delays and escalating to supervisors or state insurance regulators if necessary.
The "special deal" pressure: "I can get you this amount approved today, but if you wait, it might be less." This creates false urgency. Legitimate claims don't expire because you took time to review the offer. Never sign anything under pressure.
One family faced an adjuster who kept "forgetting" to include smoke damage in his estimate despite clear evidence. After the third "revised" estimate still omitted it, they hired a public adjuster who immediately spotted the pattern and recovered an additional $23,000.
Never assume the insurance company’s first offer reflects the true value of your claim. Their adjusters are trained negotiators working within a system designed to minimize payouts. Your job is to bring equal preparation to the table — independent estimates, written records, and the willingness to say no until the number is right.
— J. Robert Hunter
Negotiating Your Settlement: When and How to Push Back
Homeowners adjuster negotiation tips start with understanding that the first offer is rarely the best offer. Insurers expect negotiation—their initial assessments build in room for increases.
When you receive the adjuster's estimate, compare it against independent contractor quotes. Significant gaps signal negotiation opportunity. A $5,000 difference on a $40,000 claim warrants pushback; a $500 gap probably isn't worth the effort.
Prepare a written response detailing specific disagreements:
- "Your estimate includes $4,200 for roof repair. Three licensed roofers quoted $6,800-$7,200 for the same scope. Please explain the discrepancy."
- "You assessed the hardwood flooring at $3/sq ft for builder-grade material. Attached is our purchase receipt showing $8/sq ft premium oak installed in 2019."
- "Your estimate omits the damaged HVAC ductwork entirely. Please review the attached contractor assessment and revise."
Send this via email with supporting documentation attached. Request a written response within a specific timeframe—10 business days is reasonable.

Author: Marcus Hollowell;
Source: sixth-fleet.com
Getting a Second Opinion or Independent Appraisal
Your policy likely includes an "appraisal clause" allowing either party to demand independent appraisal when you can't agree on damage value. This differs from mediation or arbitration—appraisal focuses solely on damage amount, not coverage disputes.
The process works like this: You hire an appraiser, the insurer hires one, and if they disagree, an umpire makes the final decision. Each party pays their appraiser's fee; you split the umpire cost. Appraisal typically costs $2,000-$5,000 but can recover tens of thousands on substantial claims.
Invoke appraisal when the insurer acknowledges coverage but lowballs the damage amount. It won't help if they're denying the claim entirely—that requires different escalation.
When to Hire a Public Adjuster or Attorney
Consider a public adjuster when: - Your claim exceeds $50,000 - The insurer denies coverage you believe is valid - You're overwhelmed by the process due to personal circumstances - Initial negotiations fail to bridge significant gaps - The adjuster seems adversarial or uncooperative
Public adjusters typically charge 5-15% of the final settlement. On a $100,000 claim, a 10% fee costs $10,000—but if the public adjuster recovers $130,000 versus the insurer's $85,000 offer, you net $117,000 instead of $85,000. The math works.
Attorneys enter the picture when insurers act in bad faith—denying valid claims without reasonable basis, failing to investigate properly, or violating state insurance regulations. Most insurance attorneys work on contingency, taking 25-40% of recovered amounts. The high fee makes sense only for serious disputes, typically five-figure claims or more.
According to Amy Bach, Executive Director of United Policyholders, a nonprofit insurance consumer advocacy organization: "Homeowners often don't realize they can push back on adjuster assessments. Insurance companies count on policyholders accepting the first offer. Getting multiple contractor estimates and documenting everything in writing dramatically improves settlement outcomes. When insurers see you're informed and organized, they tend to negotiate more fairly."
Frequently Asked Questions About Working with Home Insurance Adjusters
Dealing with a home insurance adjuster doesn't have to be adversarial, but it requires awareness that the adjuster represents the insurance company's interests, not yours. Thorough preparation, detailed documentation, and strategic communication protect your claim and maximize your settlement.
Start by understanding what type of adjuster you're working with and what to expect during initial contact. Prepare extensively before the inspection—create damage inventories, gather proof of ownership, and document everything. During the adjuster's visit, stay present, point out all damage, and take your own notes and photos.
Communicate professionally but cautiously. Stick to facts, avoid speculation, and document every interaction in writing. Recognize common tactics like lowball offers, scope disputes, and delay strategies, then counter them with evidence and persistence.
When the settlement offer arrives, compare it against independent estimates before accepting. Don't hesitate to negotiate, invoke your policy's appraisal clause, or hire a public adjuster or attorney when circumstances warrant.
Your insurance policy is a contract you've paid for, often over many years. When disaster strikes, you're entitled to the coverage you purchased. The adjuster's job is evaluating claims—your job is making sure that evaluation is fair, complete, and accurate. With the right preparation and approach, you can navigate the claims process successfully and secure the settlement you deserve.